
After the dust settles from demolition... There's more dust.
This is the last of the "dirty" posts. The next one will be all of the pretty stuff where it actually looks like we're making progress. Remember where I said that this is a painfully longer process than you would ever anticipate?
It's hard to tell, but a lot has happened! We installed insulation to act as a sound barrier between our bathroom and a bed room on the other side of that wall. The dry wall is also hung on that wall, too.
Bryan is working on building a "knee wall"for the shower. You can also see in the picture below another example of where my original daydreaming blue tape would have ended had we not decided to just knock out a little more wall. Well worth it.


Ah, the power of blogging. See how effortless installing that knee wall was? I can promise you it (and everything else in this bathroom) took way longer than you would ever imagine. Unless you've taken your own bathroom apart. Then, you know what I'm talking about!

This is where we ended up taking that opening to. It's flush with the back of the vanity wall. And this is the initial drywall repair. You can see at the bottom of this picture that we also decided to place an outlet down low. This will be inside the vanity so we will be able to charge toothbrushes and Bryan's electric razor.

Here you can see the beam that runs between the old "cave"/shower/toilet room and the rest of the bathroom. We had to basically rebuild that since it used to be a full wall and a door way there. We had to leave some sort of divider between the room because the ceilings don't match up. The side over the vanity and tub are vaulted. Plus, we knew we didn't want to mess around with patching up the ceiling.

So, this is where the blood, sweat, and tears come in. I wish I was kidding. One of the days while cutting and installing the HardiBacker onto the floor, Bryan ended up puncturing his leg with the razor blade. Thankfully

Jumping back to the shower now. Here's the pre slope for the shower pan. And a sneak peak of the first pretty thing that I've posted about this bathroom! I spy floor tile! It was only laid there to give us some encouragement.

After the pre slope had a chance to dry and cure, we installed the shower membrane.

And then the final slope for the shower pan. We purchased this system from The Tile Shop that made the sloping for the pan nearly goof-proof so that you could ensure the water would actually get to the drain instead of pooling along the edges.
If you wanted to more detailed instructions, this link from The Tile Shop is a good place to start.

You can see that the shower pan has been fully poured and dried. The shower curb was the last part to do for the shower pan.
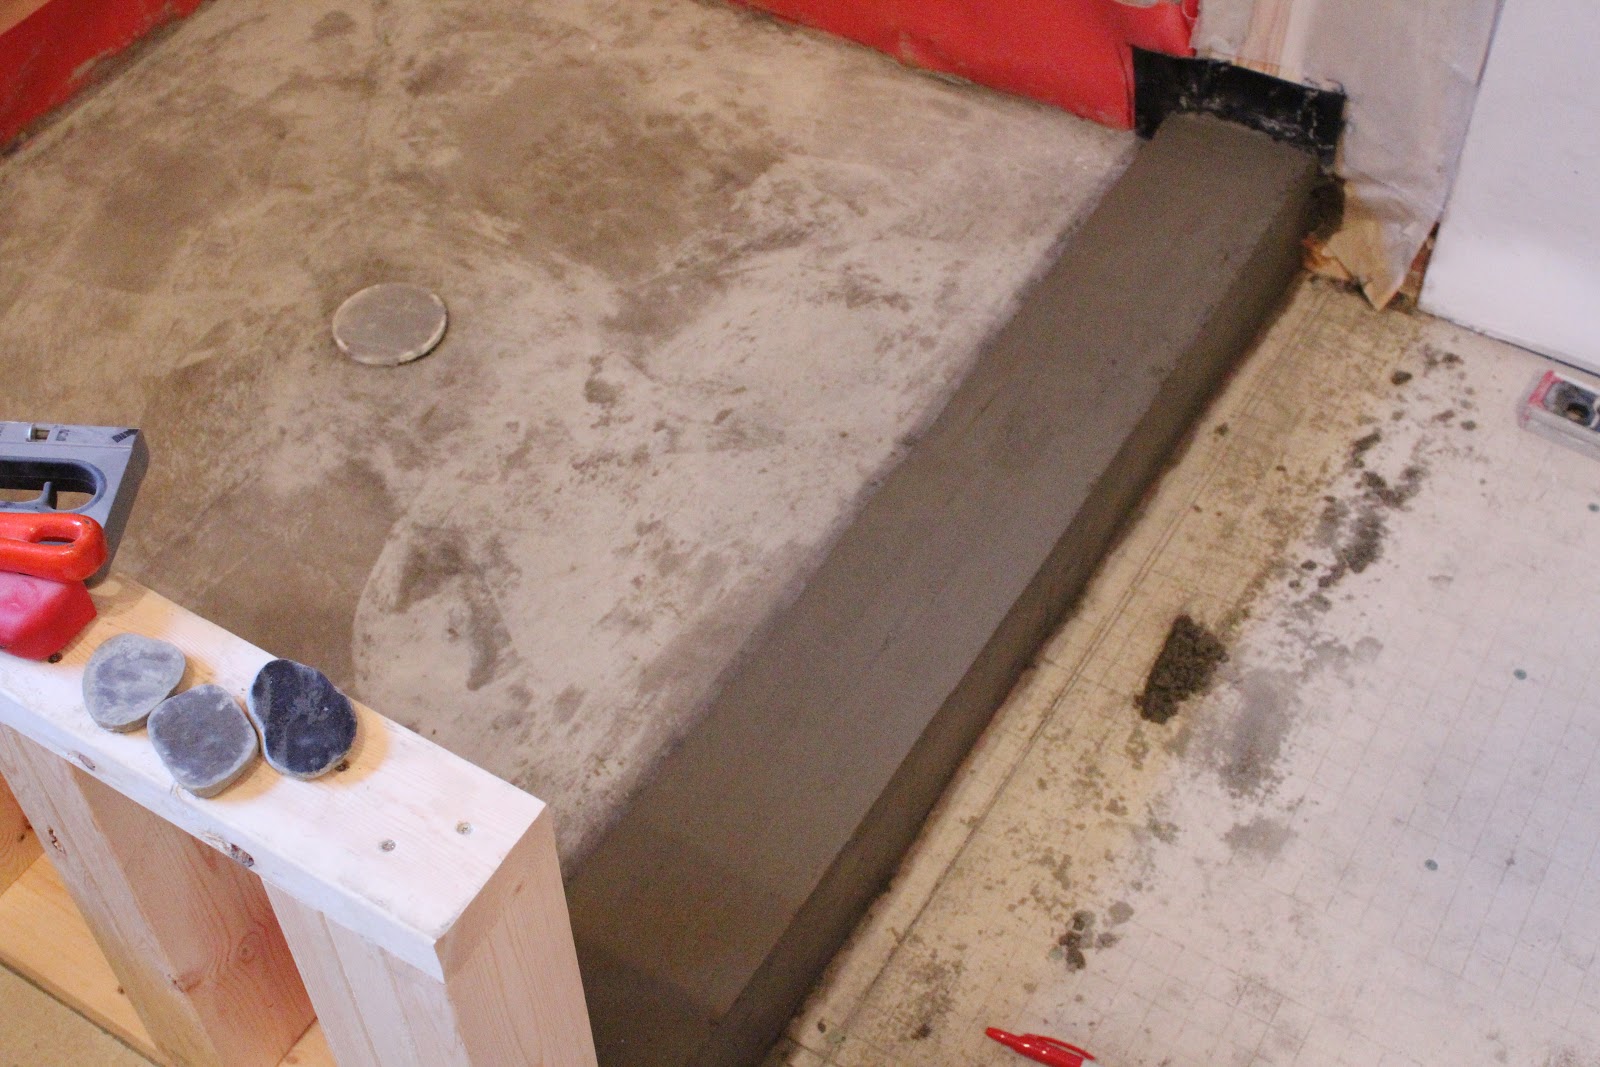
Shower pan and floor are ready for tile. The only thing left to do is install the HardiBacker on the walls of the shower and around the tub. In these pictures, you can also see that the beam and drywall received it's first coat of drywall mud. And the exhaust fan was removed to get a facelift!


I'll post about the tile tomorrow! That's definitely the fun part! Ok, ok... Here's more of a sneak peak since you technically already saw a little snippet of it in one of the pictures above.
Here's the tile we chose for the floor! You'll love it even more once you see it installed!
 |
| Source |
No comments:
Post a Comment
If you have a question and your profile is attached to your email address, I'll send you an email! If not, check back here and I'll leave your response under your comment. Don't have a question? I'd love for you to say "hello", anyway! :)